Inserting GeoLab IOB Records
By Dr. Robin Steeves
GeoLab now makes it easier to insert new IOB records in your IOB files, even if you are not familiar with all of GeoLab's record types. You can read more about GeoLab’s text records here.
I have found the new "Insert/Other record" edit menu item to be very useful.
Remember, whenever you would like to have a tool in GeoLab that makes your work more efficient, just let us know!
Before we look at the "Insert/Other record" command, we'll remind you of the simplest method for inserting an IOB record in your IOB file: Enter a space character at the beginning of a blank line, then type the record code for the record you wish to insert. For example, enter "DIST" as the record code for a distance measurement. After you do this, the field editor area is initialized for that record code (you can click the "Reload names" button to ensure you have all your IOB file's parameter names listed in the field editor).
When you right-click your IOB file in the Assistant's editor, you'll see the edit menu shown in the following image.
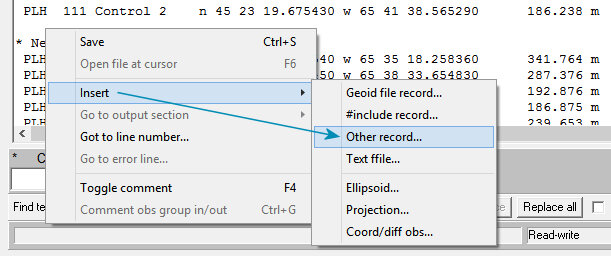
Just click "Insert", and then click "Other record..." to open the "Select record type" dialog.
As shown in the following image, you first select a record group and then a record type. A description of the selected record type will then appear in the third section of this dialog.
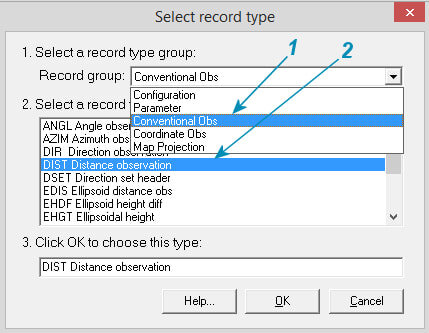
When you click the OK button, this dialog closes and the selected record is inserted in your IOB file. You can then use the field editor area to enter data appropriate for your network. To ensure you have all your IOB file's parameter names listed in the field editor's drop-down lists, click the "Reload names" button.
Note that this tool can also help you get more familiar with all of GeoLab's record types. The brief descriptions are sometimes enough, but when you need more information about record types, click the Help button to see User Guide documentation for all record types.